

Face Shields

The Virginia Tech Full Face Shield design is the result of direct user-feedback from the experiences of the healthcare professionals within the New River Valley. Its design has been approved by the infection control offices of the local hospitals.
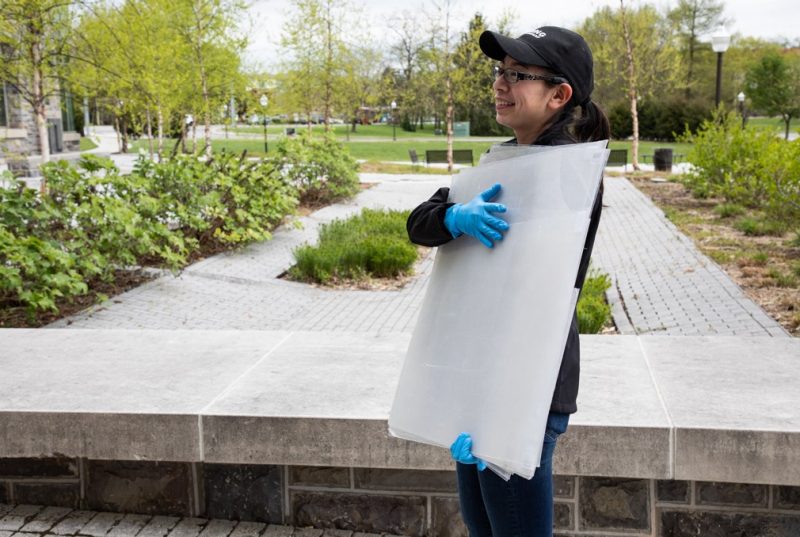
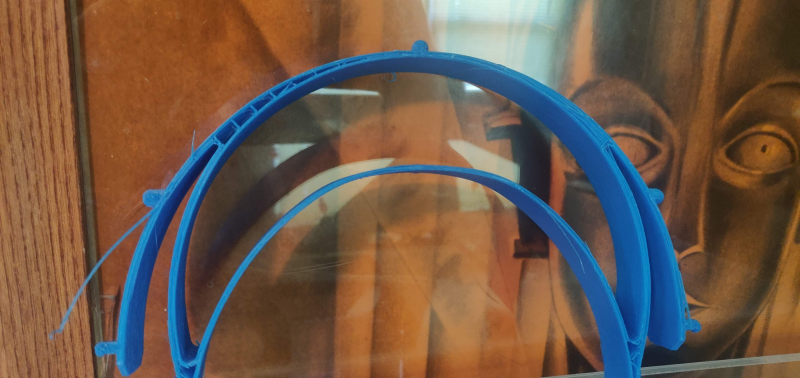
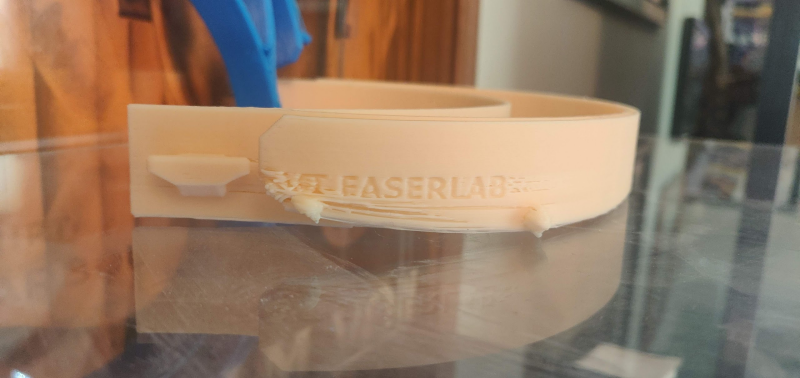
It is a derivative of the Prusa RC3 face shield design. It features additional side and top shield coverage for extra protection, in addition to a redesigned internal curvature and height for additional comfort while wearing for extended use. The frames can be printed on any consumer grade 3D printer with bed dimensions of at least 200x200 mm. The shield portion is made from 5mil PET plastic and can be cut on a laser cutter. In a pinch, hole punched transparencies or Prusa pattern shields are compatible with this design but are not recommended due to the significantly decreased protection capability.
The project lead, Dr. Alex Leonessa (faceshields@vt.edu), is actively soliciting contributions for bulk filament, bulk elastic, and bulk sheets of polyester. In particular polyester is out of stock almost everywhere and difficult to secure. Any availability for 3D printing time would be greatly appreciated as well.
The Virginia Tech full face shield can be found on the NIH 3D Print Exchange.
Read: Shielding medical professionals in the face off with COVID-19
April 28 Update: For those helping to 3D print headbands for face shields: please be sure you are using the latest version (V4.2).
The most up-to-date design files can be found at the Google Drive link below.
Frame Instructions
Shield frames can be fabricated on any consumer grade printer with sufficient bed dimensions. It may help to rotate the shield 45 degrees in order to fit onto the build platform. The frame design is stackable and can be printed in batches. 0.2 mm separation between the frames seems to work relatively well. With a 0.3 mm layer height, 1.2 mm walls, and 10% infill, print time for a single frame hovers around 3 hours.
Shield Instructions
Shield portions can be fabricated on any laser cutter that has a cutting bed size of at least 12”x14”. The 5mil PET material can be stacked, but how much depends on your laser cutter. The cut time for a single shield should not exceed two minutes on tested lasers.
Assembly Instructions
- Align the center hole of the shield with the center hole of the frame.
- Pull down so that the 2nd and 3rd holes on both sides snap into place with the shield.
- Fold in the top flaps of each tab of the shield such that the one in the middle is on top, and the others behind it.
- Snap the corresponding tabs into the appropriate slots to lock the shield in place.

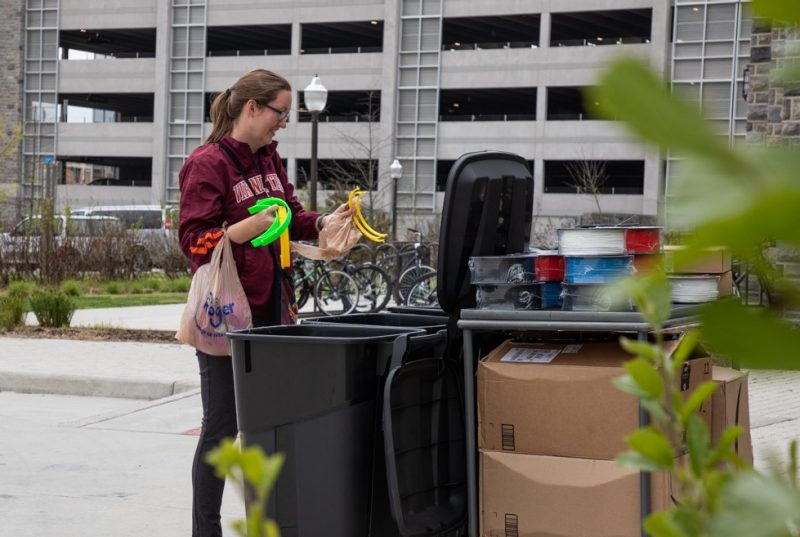
On Mondays and Thursdays each week, shields and frames will be collected at the Goodwin Hall roundabout from 1-3 p.m. DO NOT take your fabricated headbands directly to the hospital. The frames need to be centrally collected and sterilized before being paired with shields in order to ensure the safety of the healthcare workers and to distribute the shields where the need is greatest.
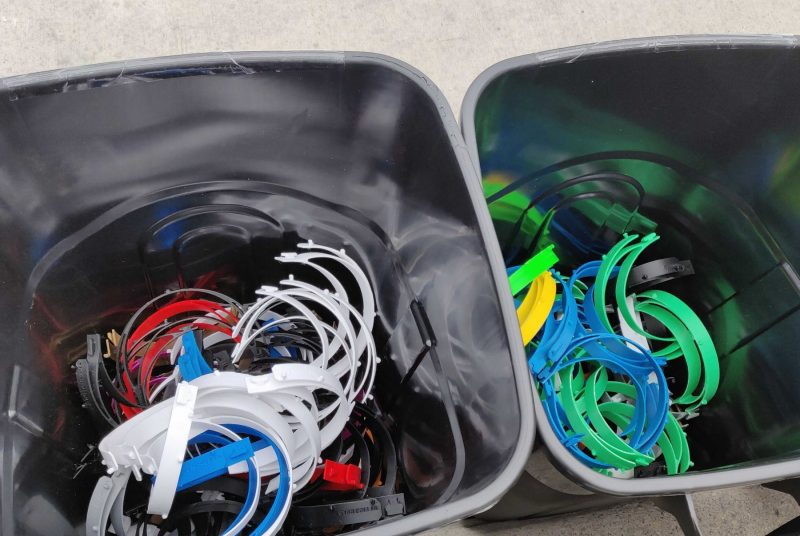
Please separate your prints from their stacks, and divide into two categories: Grade A, and Grade B. Grade B frames are those that are deformed in some way but should still be able to function normally as a shield. Examples are in the FAQ below.
From 1-1:30 p.m., if you need filament to continue your 3D printing effort, there will be filament available at the drop-off point. We have 1.75 mm and 3 mm PLA available. If you are not able to meet that time slot and you need filament to continue printing, contact Liam Chapin (wchapin@vt.edu).
Fabrication FAQ
Issues such as warping, incomplete print, structural weakness, or significant layering problems.
Examples of Grade B frames
Prints that are missing pegs, structurally weak to the point where they can not be worn, or that are broken in a way that prevents normal use.

- Increase layer height. 0.3 mm seems to work well for this purpose, assuming a 0.4 mm nozzle.
- Decrease infill. 10% infill does well. (Additionally, thickening internal wall to 1.2 mm reduces the need for infill in many cases)
- Increase wall print speed
- Print in stacks
- Check your separation distance. 0.2 mm seems to work in most cases.
- If not, use a pair of snips to start the separation.
General FAQ
Mondays and Thursday from 1-3 p.m. at the Goodwin Hall roundabout.
Frames need to be centrally collected and sterilized before being paired with shields and distributed where the need is greatest.
Come early for frame drop off or contact Liam Chapin at wchapin@vt.edu.
Design
- Liam Chapin, Student, Computer Science (FASER Lab)
- Jacob Martin, Student, Mechanical Engineering (FASER Lab)
- Genevieve Gural, Student, Mechanical Engineering (DREAMS Lab)
Production
Thanks to all the members of the Virginia Tech and NRV community who have put their equipment and time to use to help those in need.
Implementation
- Damon Kuehl, Carilion Clinic
- Alex Leonessa, Professor, Mechanical Engineering